Backups are everything… whilst Synology now back up a lot of what is on the box seeing a file extract from MySQL is just as nice!
This script has been used for over 6 years for 2 reasons:
Reason 1
So in the early earlier versions of Synology DSM the ability to use the in-built backup tasks didn’t allow you to backup MariaDB and the data held within it. I had a couple of low key production sites being used for my personal websites on WordPress so just wanted to be sure I had a secure copy of the Database as any IT/Web admin would. After scratching on the internet I found this script to create a dump of the data in MariaDB that would compress it, date it and set the storage location problem solved
Reason 2
In more recent versions of DSM Hyperback Up allowed you to backup Maria DB as part of the packages backup scheduling the backup and including it with the bulk of your regular data backup… However Hyper Backup has to shutdown the MariaDB service to be able to perform the backup, this isn’t usually a problem as the backups can be set to run “out of hours” however this isn’t ideal. This script has grown and works currently on DSM 6.2.3-25426 Update 3 as of 29/01/2021 and creates MySQL Dump that will allow you to import the data back into MySQL in the event of needing to restore your data.
The Script
#!/bin/sh
#
DIR=/volume1/sqlbackup/ CHANGE THIS TO PHYSICAL PATH
DATESTAMP=$(date +%Y%m%d%H%M%S)
DB_USER=SET TO MARIADB ROOT USER
DB_PASS=SET TO MARIADB ROOT PASSWORD

# create backup dir if it does not exist
mkdir -p ${DIR}

# remove all backups except the $KEEP latest
KEEP=90 CHANGE THIS TO SUIT
BACKUPS=`find ${DIR} -name "mysqldump-*.gz" | wc -l | sed 's/\ //g'`
while [ $BACKUPS -ge $KEEP ]
do
ls -tr1 ${DIR}mysqldump-*.gz | head -n 1 | xargs rm -f
BACKUPS=`expr $BACKUPS - 1`
done

# dump all the databases in a gzip file
FILENAME=${DIR}mysqldump-${DATESTAMP}.gz
/volume1/@appstore/MariaDB10/usr/local/mariadb10/bin/mysqldump --user=$DB_USER --password=$DB_PASS --opt --all-databases --flush-logs | gzip > $FILENAME
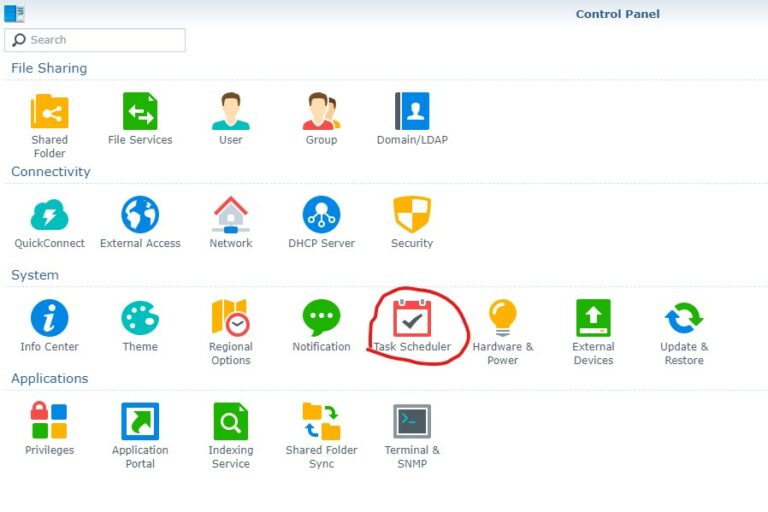
The above script can be loaded in scheduled task found in the Control Panel
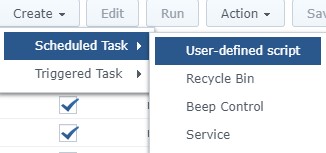
Click on Create > Scheduled Task > User-defined script
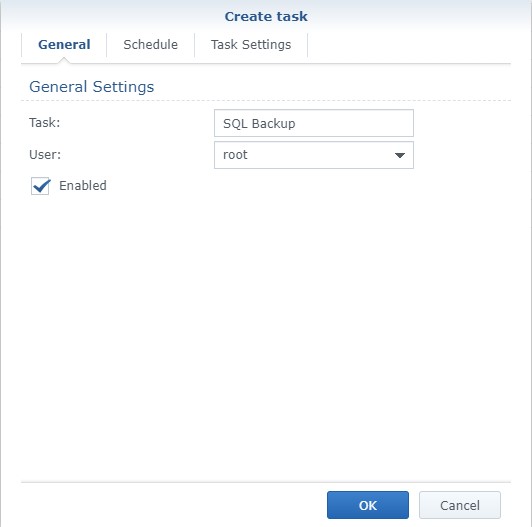
On the General Tab select the user you want the script to run as make sure this is set to Root and enter a custom task name of your choice
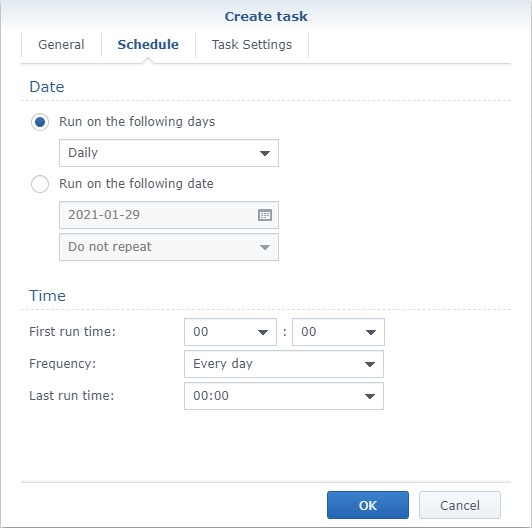
Set the time you want the backup to take place… this wont take your database offline but may impact speed that SQL responds and slow down your NAS as it processed the data dump and zip process.
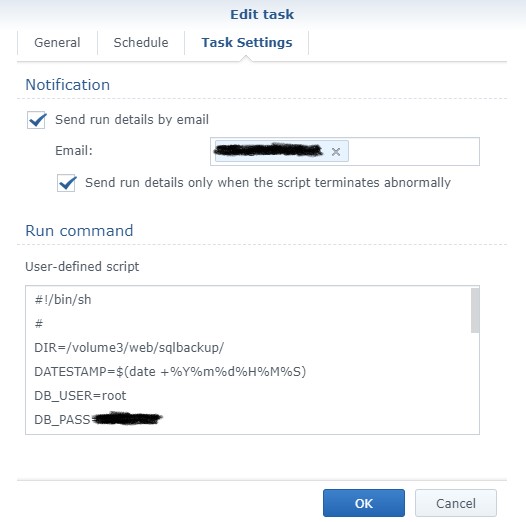
I would suggest copying the code into notepad and edit where needed before pasting into the smaller box as shown below. I also suggest ticking the two boxes shown and entering your email address so that are you are notified if the scheduled task fails.
NOTE: This notification doesn’t send if the script itself fails, so check your zip files regularly to make sure your getting an extract.
Testing
I would strongly recommend that you test the script can be imported again either to a test or live environment to confirm there are no problems with the script installing.